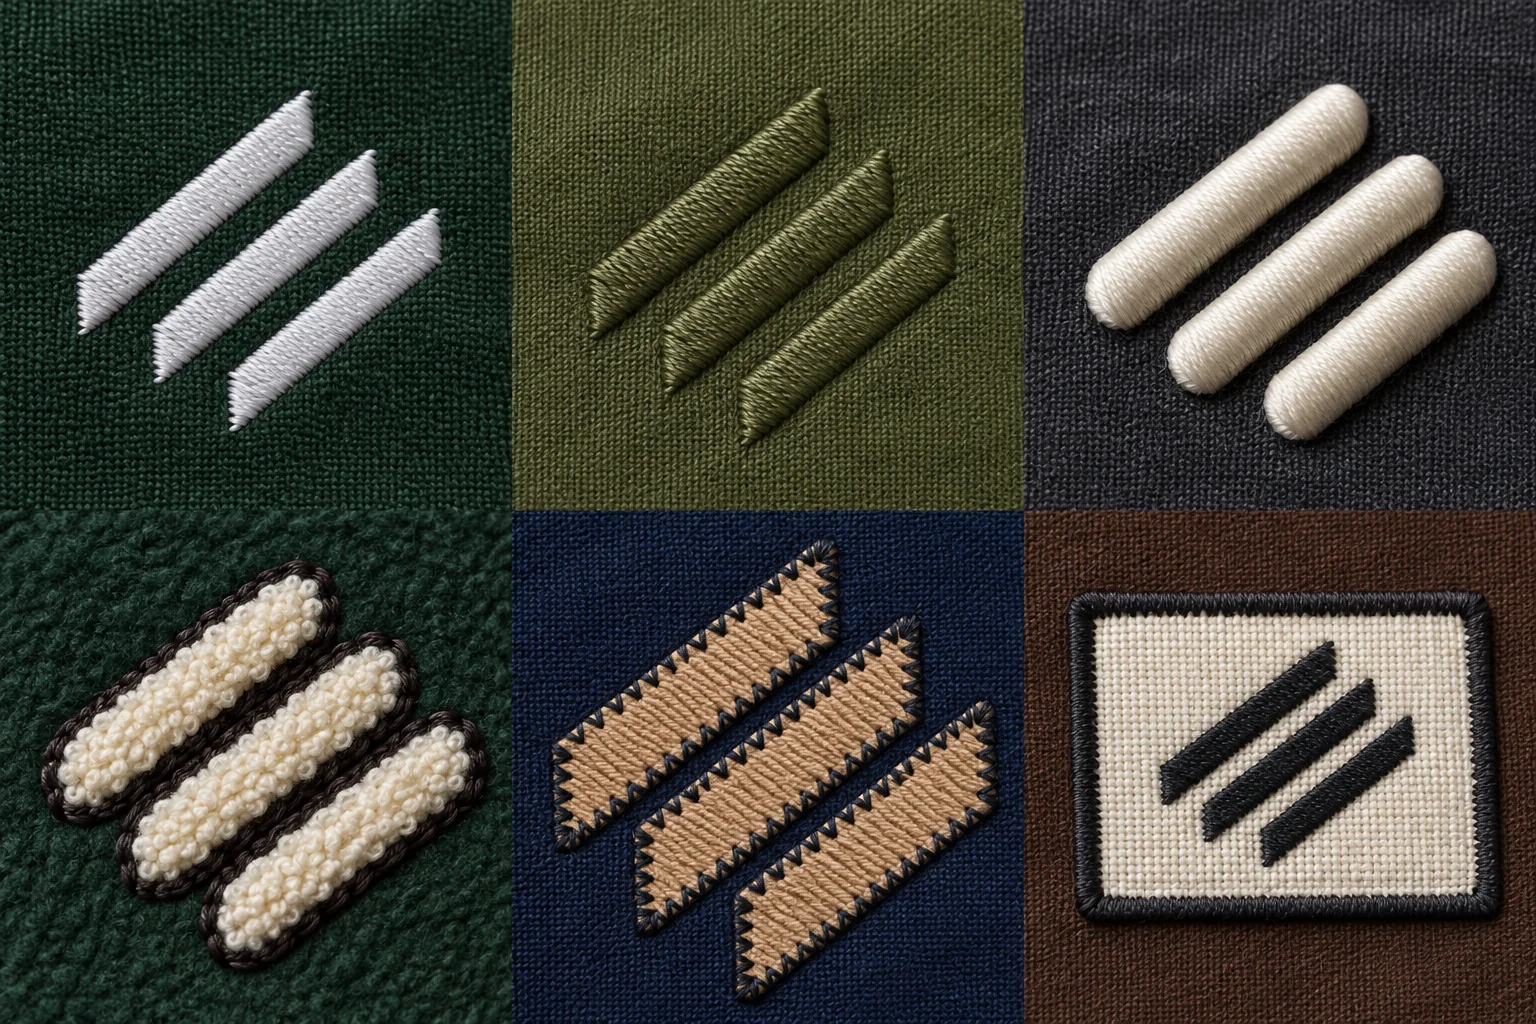
Artwork needs embroidery digitizing
A vector logo is a useful starting point, but it is not a stitch file. Digitizing defines stitch type, direction, density, underlay and the sewing sequence for the actual size and fabric.
Our recommendation is to approve both the design layout and a sew-out. If the artwork changes size substantially or moves to a different fabric, reassess it rather than assuming the original stitching plan will transfer unchanged.
- Supply clear artwork plus the final width and height.
- Identify essential lettering and details that must remain readable.
- Provide thread-colour references; screen colour is only a guide.
- Mark the position relative to seams, pockets and garment edges.
References: Wilcom — Stitch types, digitizing and colourways ↗
Plan for fabric movement and comfort
Backing supports the fabric while stitches are formed. A topping can help stitches sit above a pile or textured surface. The selection depends on the material and the design.
On a lightweight or stretchy garment, prioritize a sample that stays smooth and comfortable. Ask to see the reverse of the embroidery as well as its face, especially where it sits against skin.
- Inspect puckering with the garment relaxed, not only stretched flat.
- Check that the needle has not damaged fine fabric.
- Review backing edges, bulk and skin contact.
- Test the garment through its intended movements.
References: Madeira — Backing, topping and support ↗Madeira — Fabric testing and puckering ↗
Match decoration to how the garment is worn
For sportswear, treat weight, flexibility and inside comfort as design requirements. A compact crest can be assessed differently from a dense full-chest graphic. For streetwear, larger relief and texture may be part of the intended look, but fit and drape still matter.
If a garment is also washed, distressed or printed, approve the combined sample. Thread, patch fabric, adhesive and the body fabric may respond differently.
- A training top: compare a compact embroidery with a suitable printed alternative.
- A varsity hoodie: review patch weight and drape before enlarging the letter.
- A washed tee: approve the colour relationship after the intended finishing sequence.
References: Madeira — Embroidery on sports and performance wear ↗Coats — Embroidery thread and application solutions ↗
What to approve before production
Inspect the sample at the size people will actually wear it. A close-up is useful for stitch edges; a normal viewing distance shows whether the logo and lettering work.
Agree care instructions for the finished garment rather than borrowing them from a thread listing. A metallic thread, foam, backing or attached patch can change what needs checking.
- Correct spelling, orientation, thread colours and placement.
- Open letter counters and readable small details.
- Clean edges, secure attachment and no exposed foam.
- Comfort, movement, appearance after the agreed sample tests.
- A recorded sample reference for the design, material and decoration.
References: Madeira — Metallic-effect thread properties ↗Madeira — Dimensional embroidery with 3D foam ↗